Create a Responsive Slides Using Mousewheel Control in HTML, CSS and JS
Mousewheel control is a cool feature in web design. It lets people move up and down on a web page by scrolling with their mouse. It’s a beautiful feature for websites! But why is it useful, and why should you learn about it?
Firstly, mousewheel control is really handy. Picture this: you’re on a website with lots of stuff to see or cool pictures. Instead of clicking small buttons or swiping forever, you can smoothly move through the content or slides just by rolling your mousewheel. It’s very easy and it makes sense, and it saves time!
But there’s more to it than just being convenient. Being good at mousewheel control is seen as a smart move in web design for a few reasons. First, it makes the user’s experience better by giving them a smooth and interactive way to look through stuff. This can make users more interested and happier, which is great for website owners.
Plus, mousewheel control works well on lots of different devices and platforms. Whether you’re on a computer, laptop, or even a touchscreen device, the mousewheel usually works perfectly. This means it’s really useful for web designers who want to make websites that work well on all kinds of devices.
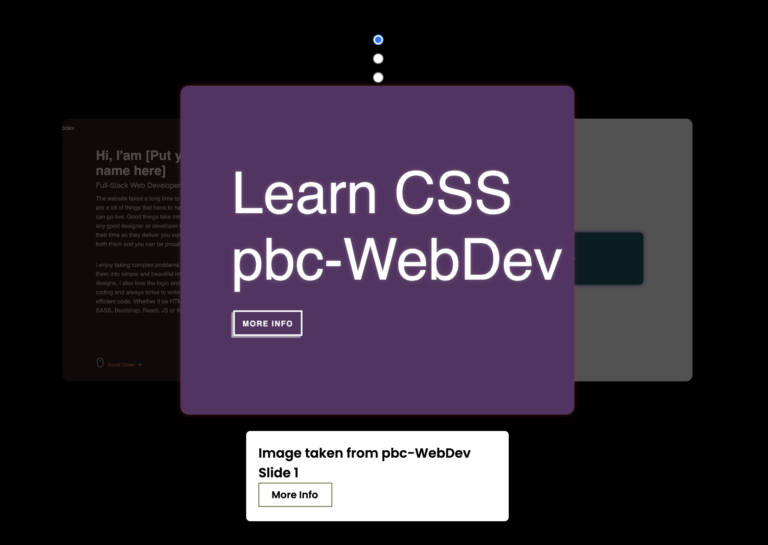
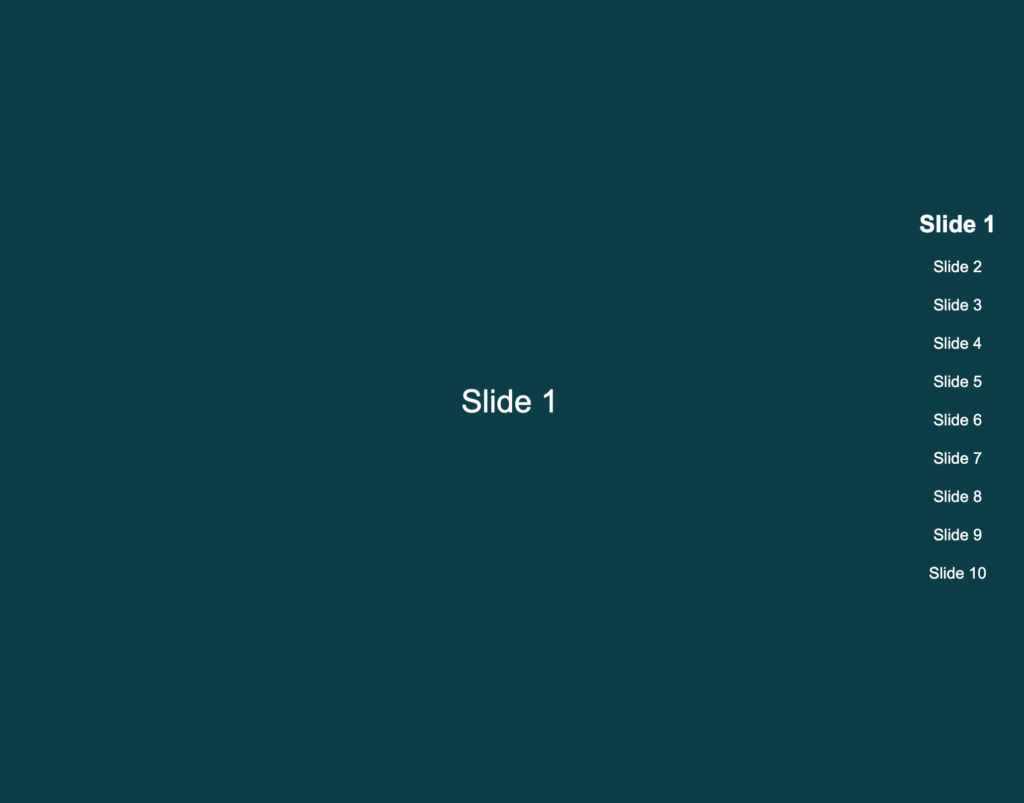
Now, check out this demo clip. It shows how mousewheel control works in action.
To create the slide shown in the above video clip using Mousewheel control, I used HTML, CSS, and JavaScript. Below is a quick explanation and code of how I made the slide.
HTML Code
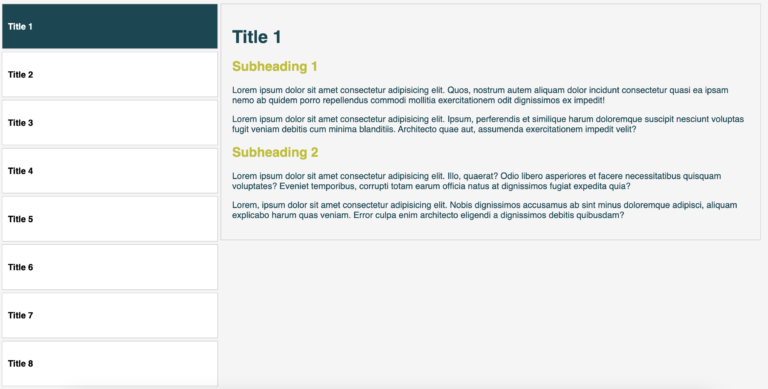
The HTML structure sets up the basic layout of the slider. Inside the <head> section, metadata like character set and viewport settings are specified. External styles are linked using the <link> tag. In the <body> section, there’s a container div with the class “slider-container” containing the slides wrapped in a <div> with the class “slider“. Each slide is represented by a, <div> element with the class “slide“, and they are styled with background colors and labeled as “Slide 1“, “Slide 2“, and so on. A pagination section is also included at the end to show navigation buttons.
<!DOCTYPE html>
<html lang="en">

<head>
    <meta charset="UTF-8">
    <meta name="viewport" content="width=device-width, initial-scale=1.0">
    <title>Mouse Wheel Control Vertical Slider | pbc-webdev</title>
    <link rel="stylesheet" href="styles.css">
</head>

<body>
    <div class="slider-container">
        <div class="slider">
            <div class="slide" style="background-color: #004754;">Slide 1</div>
            <div class="slide" style="background-color: #2ca02c;">Slide 2</div>
            <div class="slide" style="background-color: #532e2e;">Slide 3</div>
            <div class="slide" style="background-color: #333333;">Slide 4</div>
            <div class="slide" style="background-color: #8c564b;">Slide 5</div>
            <div class="slide" style="background-color: #bebd00;">Slide 6</div>
            <div class="slide" style="background-color: #669198;">Slide 7</div>
            <div class="slide" style="background-color: #dd2283be;">Slide 8</div>
            <div class="slide" style="background-color: #17becf;">Slide 9</div>
            <div class="slide" style="background-color: #356b44;">Slide 10</div>
        </div>
        <div class="pagination"></div>
    </div>
    <script src="script.js"></script>
</body>

</html>
CSS Code
The Following CSS code defines the styles for various elements on the webpage. It starts with general styles for the body, setting margins and font family. The “slider-container” class is set to occupy the entire viewport height (100vh) and hide overflow content. The “slider” class is configured to display its child elements (slides) in a column layout and to transition smoothly when the transform property changes. Each “slide” is set to occupy the full viewport height (100vh) and centered both horizontally and vertically with white text color. The “pagination” class is positioned absolutely and styled to display navigation buttons vertically aligned in the center with specific spacing and styling for the buttons.
body {
  margin: 0;
  font-family: Arial, sans-serif;
}
.slider-container {
  width: 100%;
  height: 100vh;
  overflow: hidden;
  position: relative;
}
.slider {
  display: flex;
  flex-direction: column;
  transition: transform 0.5s ease;
}
.slide {
  height: 100vh;
  display: flex;
  justify-content: center;
  align-items: center;
  font-size: 2rem;
  color: white;
}
.pagination {
  position: absolute;
  top: 50%;
  right: 20px;
  transform: translateY(-50%);
  display: flex;
  flex-direction: column;
}
.pagination button {
  margin-bottom: 10px;
  padding: 5px 10px;
  border: none;
  background-color: transparent;
  color: white;
  font-size: 1rem;
  cursor: pointer;
}
.pagination button.active {
  font-weight: bold;
  font-size: 1.5rem;
}
JavaScript Code
The JavaScript code adds functionality to the webpage, particularly for controlling the slider with the Mousewheel and updating pagination buttons. It listens for the “DOMContentLoaded” event to ensure the DOM content is fully loaded before executing.
Then It selects the slider and pagination elements from the DOM and initializes a variable currentIndex to keep track of the current slide index. The updateSlider() function adjusts the slider’s position based on the current index, and the updatePagination() function updates the active state of pagination buttons.
The handleWheel() function handles the Mousewheel event, preventing its default behavior, calculating the new slide index based on the wheel direction, and updating the slider accordingly.
Finally, it dynamically creates pagination buttons for each slide, adds event listeners to update the slider when buttons are clicked, and initializes pagination.
document.addEventListener("DOMContentLoaded", function () {
  const slider = document.querySelector(".slider");
  const pagination = document.querySelector(".pagination");
  let currentIndex = 0;

  function updateSlider(index) {
    currentIndex = index;
    slider.style.transform = `translateY(-${currentIndex * 100}vh)`;
    updatePagination();
  }
  function updatePagination() {
    const buttons = pagination.querySelectorAll("button");
    buttons.forEach((button, index) => {
      button.classList.toggle("active", index === currentIndex);
    });
  }
  function handleWheel(event) {
    event.preventDefault();
    const delta = Math.sign(event.deltaY);
    const newIndex = currentIndex - delta;
    const maxIndex = slider.childElementCount - 1;

    if (newIndex >= 0 && newIndex <= maxIndex) {
      updateSlider(newIndex);
    }
  }
  document.addEventListener("wheel", handleWheel);
  // Create pagination buttons
  for (let i = 0; i < slider.childElementCount; i++) {
    const button = document.createElement("button");
    button.textContent = `Slide ${i + 1}`;
    button.addEventListener("click", () => updateSlider(i));
    pagination.appendChild(button);
  }
  updatePagination();
});
By combining these HTML, CSS, and JavaScript codes, the slider with Mousewheel control functionality is created. Users can navigate through the slides either by scrolling with their Mousewheel or by clicking on pagination buttons. This interactive feature enhances the user experience and makes the content more engaging.
To create this project, please follow these simple steps:
- Create a folder on your computer.
- Inside the folder, create three files: index.html, styles.css, and script.js.
- Copy and paste the HTML code provided above into your index.html file.
- Copy and paste the CSS code provided above into your styles.css file.
- Copy and paste the JavaScript code provided above into your script.js file.
- Open your index.html file in any web browser, and the project should work perfectly, just like in the video clip.
If you encounter any errors or it doesn’t work as expected, you can click the “Download source code” button below. Then, unzip the file and open the HTML file in any browser. It should work perfectly. Feel free to customize the code by changing fonts, colors, size, and even linking the slides to your own images.
In conclusion, Mousewheel control is a great feature for websites. It makes navigating through content easy and enjoyable for users, which is crucial for keeping them engaged. Additionally, it’s compatible with various devices, making it a valuable tool for web designers. So, it’s definitely worth learning about!